Its formatted from two shapes that is oval and the form of the
letter TM. But, before entering this part, we must prepare a
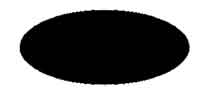
canvas with a size of 500x500 pixels. After that, click ellipse tool
and make a circle form in oval in this canvas and raster this
circle with a layer > rasterizing > shape.
|
|
Make a button in oval shape |
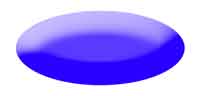
Use many kinds of layer style to make this icon, this is
the thing we must do. Click the layer menu > Layer Style > Color
overlay. Set the Blend Mode normally dan we must pick our color blue
(#2A00FF) after that, click check box bevel and emboss and put this
setting, Style: Inner Bevel, Technique: Smooth, Depth: 100,
Direction : Up, Size: 43, Soften: 0
For Shading put the grade as follows, Angle: 120, Attitude:
30, Highlight Mode Screen, color: white: Opacity: 62, Shadow Mode:
Multiply, Color: Black, opacity: 75.
Click contour part if already finished. Forward this
setting Contour: Gausian.
|
Your Button creation this day |
Then give check on Drop Shadow Box and put this setting,
blend Mode: Multiply, color: Black, Opacity: 75, angle:120,
Distance: 5, Spread: 5, Sizse:32
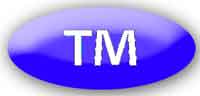
Now we will make the letter TM. Click the Custom Shape
tool button and pick the form letter TM. Make this letter in white
color and rasterizing it when finish. We polish the TM letter
until look futuristic. Click the Layer menu > Layer style > gradient
overlay. Put this setting, Blend mode: Normal, Opacity: 100,
Gradation color: Balck-white, style: linear, and angle:90
|
Give the TM letter like above illustration |
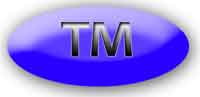
Click check box stroke and put this setting, size: 2,
position: outside, Blend Mode: Normal, Opacity: 100, Fill Type:
color, Color: #C9BEFF.
|
The result
after gradation the button |
Give the Inner Shadow effect and put this setting ahead, Blend Mode:
Multiply, color:Black, opacity: 100, angle: 120, distance: 4,
choke:0, size:5.